
How to Reduce Belly Fat with the Plank

The obsession with a flat stomach and the so-called "six-pack" has generated decades of misinformation in the fitness world. Millions of people perform hundreds of crunches every day in hopes of burning belly fat, often ending up with neck pain and no visible results in the mirror. It's time to clear things up with scientific data: spot reduction does not exist, but building an internal "muscle corset" does. And this is where the ultimate isometric exercise comes into play: the Plank.
The Physiology of Belly Fat: What Science Says
To understand how to intervene, we must divide the problem into two parts: body composition and muscle tone. A landmark study published in the Journal of Strength and Conditioning Research (Vispute et al., 2011) analyzed the effects of 6 weeks of exclusive abdominal training on a group of subjects. The result? No significant reduction in subcutaneous abdominal fat or waist circumference. Fat is lost solely through a systemic caloric deficit.
If diet removes the fat layer, why is the plank considered fundamental for the aesthetic and functional appearance of the abdomen? The answer lies in biomechanics. According to Dr. Stuart McGill, one of the world's leading experts in spine biomechanics, the abdominals are not primarily designed to flex the trunk (as happens in a crunch), but to resist movement (anti-extension, anti-rotation). The plank trains exactly this function.
Core Anatomy and the Corset Effect
The plank doesn't just involve the "classic" rectus abdominis (the six-pack), but massively activates the entire core musculature:
- Transverse abdominis: This is the deepest muscle. It acts literally like a natural weight belt. A weak transverse allows internal organs to push the abdominal wall outward, creating a "bloated belly" effect even in skinny people. The plank intensely trains this muscle, physiologically pulling the stomach in.
- Oblique muscles (internal and external): They stabilize the trunk and define the hips, creating the famous "V-taper" lines.
- Spinal erectors and Multifidus: They protect the spine and improve posture.
- Glutes and Quadriceps: They work isometrically to maintain pelvic alignment.
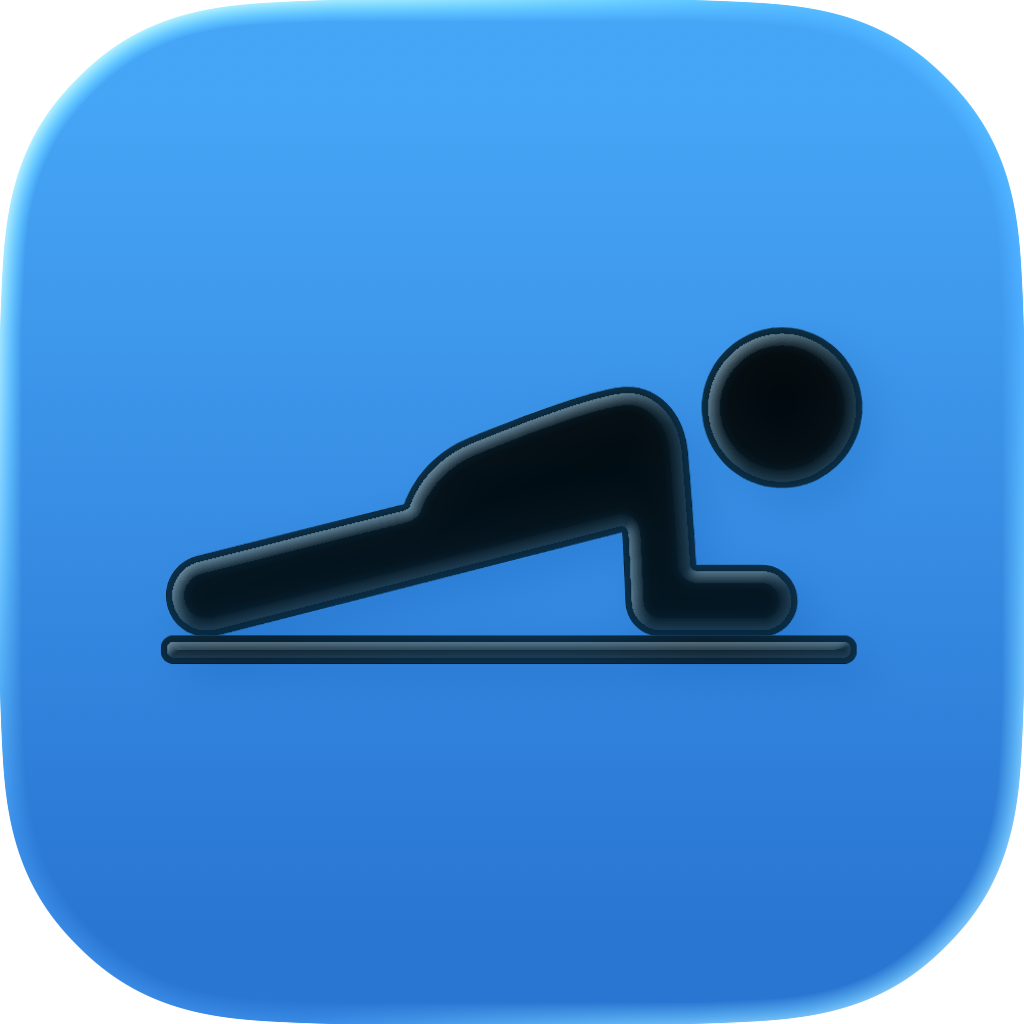
The Biomechanics of the Perfect Plank: Detailed Instructions
The effectiveness of the plank depends 100% on the quality of the tension generated. A plank held for 3 minutes with an arched back is useless and harmful. A 30-second plank performed with maximal contraction will change your body. Here is the exact biomechanical setup, starting from the ground:
- Upper body anchoring: Place your elbows exactly plumb under your shoulders. Your forearms should be parallel, like train tracks, with fists clenched or hands flat on the floor. Actively push your elbows against the floor: imagine trying to push your chest away from the ground. This activates the serratus anterior muscle and stabilizes the shoulder blades.
- Pelvic position (The Secret): This is the detail that transforms the exercise. Do not let your lower back arch. You must perform a posterior pelvic tilt. Squeeze your glutes as hard as possible, as if trying to hold a coin, and rotate your pubic bone towards your belly button (imagine a dog tucking its tail between its legs). You will instantly feel your core activation multiply.
- Lower body tension: Your legs are not dead weight. Fiercely contract your quadriceps to completely straighten your knees. Push your heels backward toward the wall, creating an unbroken line of tension from your heels to the back of your neck.
- Diaphragmatic Breathing: Never hold your breath (Valsalva maneuver), as this would dangerously increase your blood pressure. Take short, controlled breaths (bracing): inhale through your nose expanding your ribs laterally, and exhale through your mouth keeping your abdomen as hard as if you were about to take a punch.
- Cervical alignment: Your neck must follow the natural line of your spine. Fix your gaze on a point on the floor exactly between and slightly ahead of your hands. Do not look at your belly button and do not raise your chin.
The 3 Fatal Mistakes That Destroy Your Results
- Lower back collapse: If your pelvis drops toward the floor, the tension shifts from your abdominal muscles to your lumbar vertebrae, causing pain. If you can't maintain the posterior pelvic tilt, stop the set.
- Raising the hips too high (Piking): Creating an upside-down "V" shape unloads the work onto the shoulder girdle and deactivates the transverse abdominis. Your body must be as straight as a board.
- Winged scapulae: Letting your chest sink between your shoulders due to fatigue. You must always push the floor away.
The Scientific Progression Protocol
To stimulate core hypertrophy and strength, you must apply the principle of progressive overload. Here is how to structure your training over the coming weeks:
Phase 1: Neuromuscular Conditioning (Weeks 1-2)
The goal is to learn maximal contraction (RKC Plank method). Instead of aiming for duration, aim for intensity.
- Perform 4-5 sets of 15-20 seconds.
- During those 20 seconds, squeeze every muscle (glutes, abs, thighs, fists) as if you had to lift a car. If you can easily pass 20 seconds, it means you aren't contracting your muscles hard enough.
- Rest: 45 seconds between sets.
Phase 2: Strength Endurance (Weeks 3-4)
Once you've mastered the tension, we start increasing the volume under stress.
- Perform 4 sets aiming for 30-45 seconds of perfect hold.
- As soon as you feel your pelvis dip or your glutes relax, the set is over, even if the timer hasn't finished.
- Rest: 60 seconds.
Phase 3: Advanced Variations (Weeks 5+)
When you reach 60 seconds of a perfect plank, it's useless to aim for 3 or 5 minutes. Increase the mechanical difficulty:
- Long-Lever Plank: Place your elbows further forward than your shoulders (at eye level or beyond). This lengthens the lever and doubles the load on your abs.
- Alternating lift plank: Lift one leg or one arm off the ground while keeping your pelvis parallel to the floor, fighting the natural force of rotation.
Nutrition Synergy
The plank will sculpt your deep musculature, tighten your waistline, and give you incredible postural strength, but the layer of fat covering the results will depend on the kitchen. A modest caloric deficit (about 300-500 kcal a day below your TDEE) paired with adequate protein intake (1.6 - 2.0g per kg of body weight) is the metabolic engine that will allow your new steel core to show through.
Take the Plank365 Challenge
Download the app to time every session and transform your core in 28 days.

Team WorkoutX365
Fitness Experts
